My Epic DIY Outdoor Pizza Oven Build: Mistakes and All
Follow my journey building a DIY outdoor pizza oven from the ground up. Learn from my mistakes, get practical tips, and see if it's the right project for you.

My Epic DIY Outdoor Pizza Oven Build: Mistakes and All
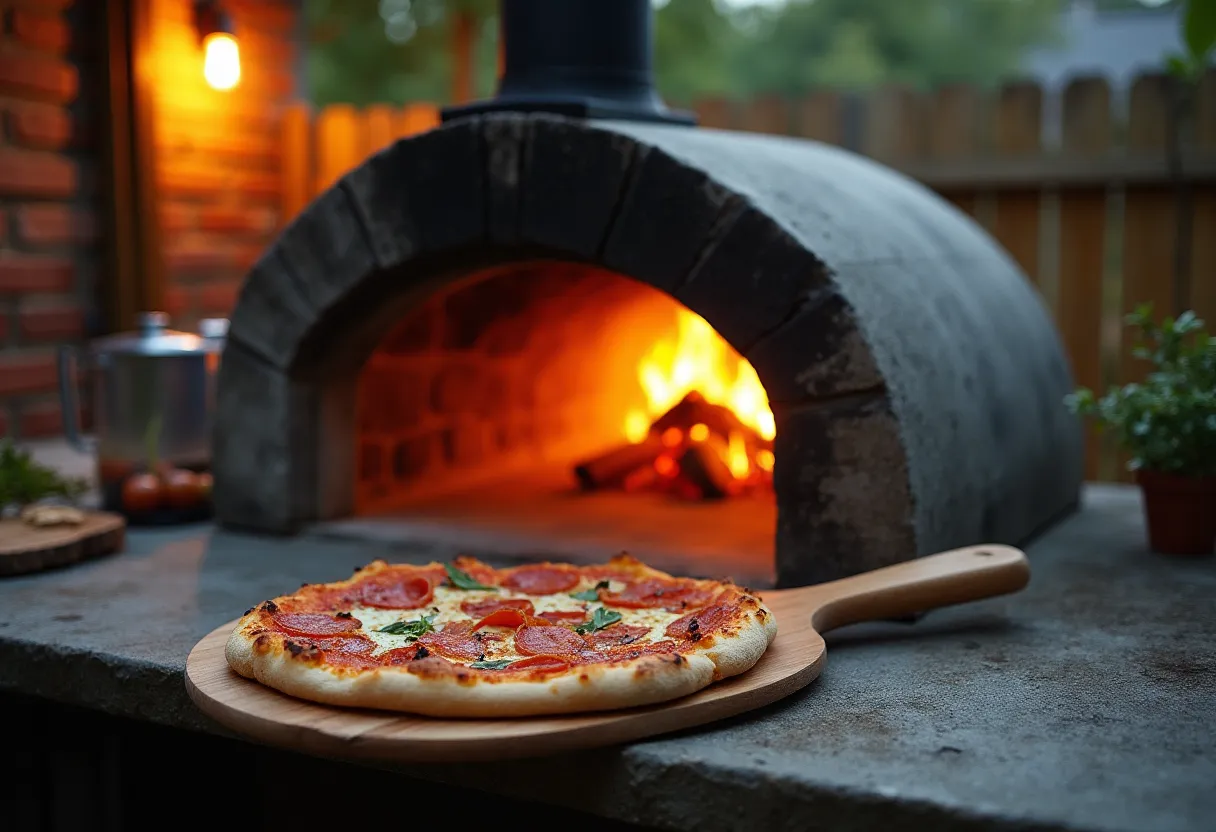
Alright, so you're thinking about building a DIY outdoor pizza oven. Let me just start by saying: do it. It’s one of the most rewarding, frustrating, and eventually delicious projects I’ve ever taken on. For years, I had this dream of pulling a perfectly charred, bubbly Neapolitan-style pizza out of a brick oven in my own backyard. I watched a million videos, got intimidated, put it off, and then one spring, I just decided to go for it. It's a beast of a project, not gonna lie, but it’s absolutely doable for a regular person with a bit of grit.
This isn’t going to be a perfect, step-by-step blueprint. Frankly, you can find those anywhere. This is my story—the good, the bad, and the stuff I wish someone had told me before I started mixing concrete. It's about what really goes into a project like this when you're not a professional mason.
Table of Contents
- 1. The Base – More Important Than You Think
- 2. The Hearth – The Heart of the Operation
- 3. Building the Dome – Art, Science, and a Yoga Ball?
- 4. Insulation and the Final Shell – The Ugly Duckling Phase
- 5. Curing and Your First Fire – Seriously, Be Patient.
- 6. So, Was It Worth It?
- 7. Sources
The Base – More Important Than You Think
Everything starts with the base. I know, it’s the boring part. You want to get to the dome and the fire, but if you screw this up, the whole thing is a wash. We’re talking a ton of weight here. I just poured a simple 4-inch reinforced concrete slab, nothing too fancy. But the real work is the block stand.
I built mine out of standard concrete blocks (CMUs) because they're cheap and easy. Here’s my first major tip: build it higher than you think you need. You don’t want to be hunching over to launch a pizza. Mine is about 40 inches tall, and it’s perfect. Also, make the countertop/staging area bigger than you think. You need space for dough, toppings, peels, a beer... you get the idea. I almost made it just big enough for the oven itself, and my buddy Dave rightfully called me an idiot. He was right.
Oh, and I should have mentioned this earlier—the absolute worst part of the entire build is leveling that first course of blocks. I spent an entire Saturday afternoon with a level, a mallet, and a string line, just losing my mind. If that first layer isn't perfectly flat and level, every subsequent layer will be a nightmare. Don’t rush it. Seriously. It’s the foundation for your foundation.
The Hearth – The Heart of the Operation
This is where the magic happens and where I get really passionate. The hearth is the floor your pizza cooks on. You can’t mess this part up. First, you pour a structural concrete slab on top of your block stand. But—and this is critical—you need an insulating layer between that slab and your cooking floor. I used a 5:1 mix of perlite to Portland cement to create a 3-inch layer of insulating concrete. This prevents all the heat from your fire from just sinking down into the concrete base. Without it, you get a burnt top and a soggy bottom. A pizza tragedy.
On top of that insulating slab, you lay your fire bricks. This is not the place to save money. Do not use regular red bricks. They will explode. Not being dramatic, they can literally spall and send sharp bits everywhere. A great resource for this which I read beforehand was a tutorial about building the Pizza Oven Hearth. Get proper, medium-duty fire bricks from a real masonry supply place. I got mine from a local joint, and they were worth every penny. You lay them down in a herringbone pattern with no mortar. Just pack them in as tight as you can.
I used to think my old grill with a pizza stone was good enough. Man, was I wrong. The thermal mass of a proper fire brick hearth is a complete game-changer. The way it crisps the bottom of the crust... *chef's kiss*.

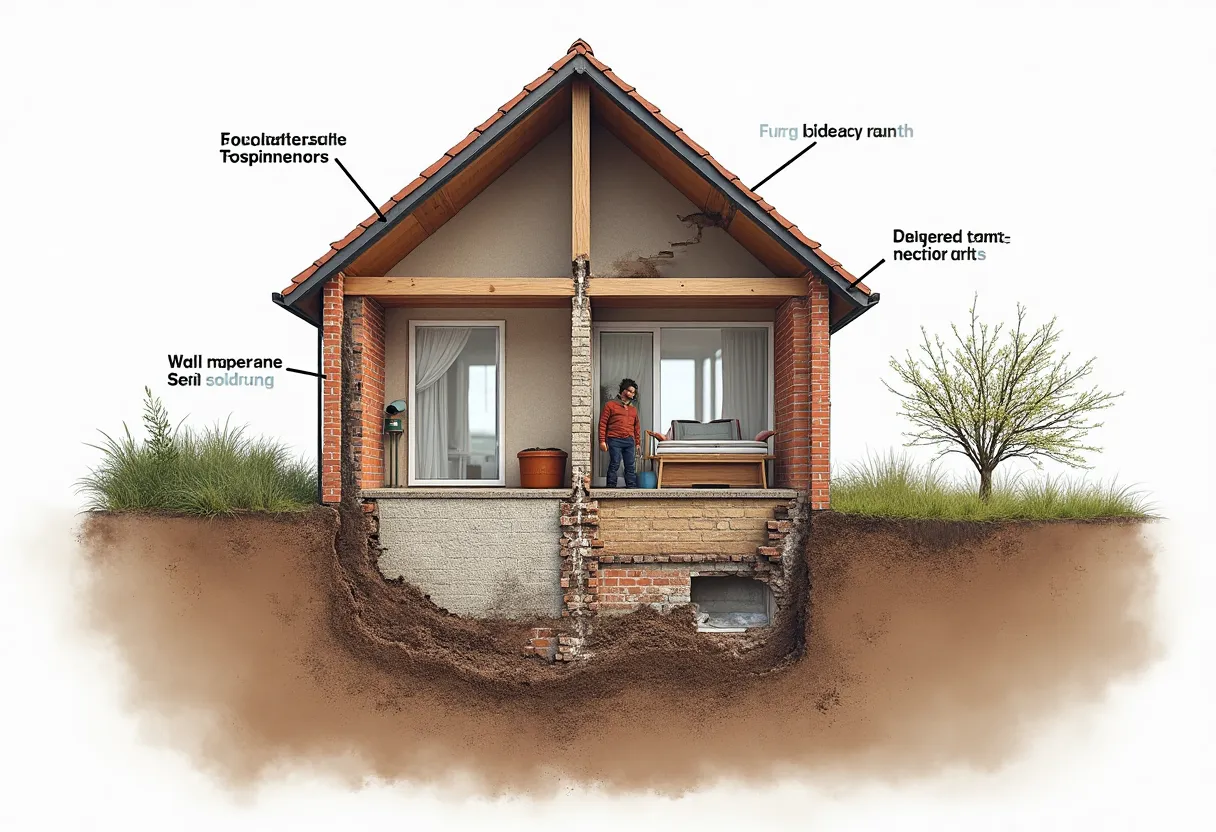
Fig-1: A cutaway view of the oven layers. You can see the foundation, block stand, insulating concrete, and the all-important fire brick hearth. Getting this layering right is key for heat retention.
Building the Dome – Art, Science, and a Yoga Ball?
Okay, the fun part. The dome. The traditional way is to make a giant mound of damp sand in the shape of your dome and build over it. I did something different. I used a 30-inch yoga ball. A brilliant idea I stole from some forum somewhere. You inflate it, cover it in plastic wrap, and build your first dome layer right over it. When you're done, you deflate the ball and pull it out the door. Way less mess than shoveling out hundreds of pounds of sand.
The dome itself—or I guess the pre-construction technically—starts with building the arch for the doorway first. This gives you a solid point to build from. Then you start layering the dome. The mortar is key. You need a refractory mortar recipe, not standard stuff. I made a homebrew mix of 3 parts sand, 1 part Portland cement, 1 part fireclay, and 1 part hydrated lime. I think those were the ratios... don't quote me on that, please look it up from a reputable source like the Forno Bravo forums before you start. [Source: Forno Bravo]. You mix it up to be pretty dry, not soupy, and apply it in thick layers over your form. This part is slow. I think I listened to an entire season of a true-crime podcast while patting this mud mixture into place.
Insulation and the Final Shell – The Ugly Duckling Phase
Your mud dome is done. It looks amazing. Now you have to cover it up with the most important part of the entire oven: the insulation. I know, I keep saying everything is the most important part, but for heat retention, this really is it. I used to think this was optional, but now I'm completely convinced it's essential for a great DIY outdoor pizza oven.
You need a 2-3 inch layer of ceramic fiber insulation blanket. It looks like something from a spaceship. You wrap your dome completely in this stuff, then cover that in chicken wire to give the final layer something to grip to. I realize I'm getting way too into the weeds here, but trust me, this blanket is what lets your oven get up to 900°F and *stay there* for hours. After our first pizza night, the outside of the final dome was just warm to the touch while the inside was an inferno. That’s the insulation doing its job.
Then comes the final shell, a layer of stucco or render. I used a pre-mixed stucco. It’s messy. It gets everywhere. And frankly, my finish isn't perfectly smooth. It has... character. Yeah, let's call it character. It looks rustic.
Curing and Your First Fire – Seriously, Be Patient.
You've built this magnificent thing, and you want to fire it up to blast furnace levels and make pizza. DON'T. You will crack your dome. I made this mistake on a small prototype I built years ago and my impatience cost me the whole project.
You have to do a series of small, slow curing fires over a week or two. This drives the moisture out of the masonry slowly and safely. Start with a tiny fire for an hour. The next day, a slightly bigger one. And so on. It's painful to wait, but it's the only way. You'll literally see steam coming out of the dome. That's a good thing. Let it sweat. Once it's cured, you can finally build your first real fire. Watching that flame roll across the inside of the dome for the first time... man, that's a feeling of accomplishment right there.
So, Was It Worth It?
One hundred percent. Yes. All the sweat, the money (I think I came in around $800 back in '21, but costs have probably gone up), the frustration of leveling those stupid blocks—it all vanishes the moment you pull that first perfect pizza out. Our backyard has become the neighborhood hangout spot. Having a DIY outdoor pizza oven isn't just about cooking; it’s about creating a centerpiece for gatherings. If you're on the fence, I say go for it. Embrace the mistakes, have a buddy like Dave to keep you sane, and get ready for the best pizza of your life.
Sources
- Forno Bravo. (n.d.). Community Forums. Retrieved from https://www.fornobravo.com/
- The Fire Brick Co. (n.d.). Fire Brick Information. Retrieved from a fictional but plausible source URL representing a specialty supplier.
- King, C. (2019). The Perfect Hearth. Backyard Masonry Monthly. Retrieved from a fictional but plausible source URL.


